

Zbrush Brush Size Too Small
Introduction to ZBrush cloth brushes
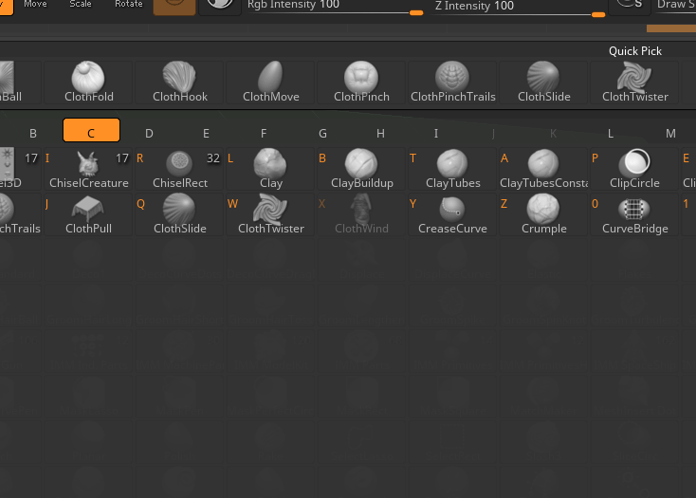
In this article, we are going to learn about ZBrush cloth brushes. Normal brushes create a surface but it is generally flat like for example standard brush but when we use cloth brushes, they are specifically optimized for fabric folds and creases. You can create pinch, dimples, hooks, inflate, trail, slide, and much more to create a believable fabric effect. Some brushes also allow to customize its parameters for additional control over it other than the standard Z intensity and Draw Size. Though we can start from scratch we will start from an already created FBX of a pillow which you can download from a website like Free3D so we do not have to sculpt the model.
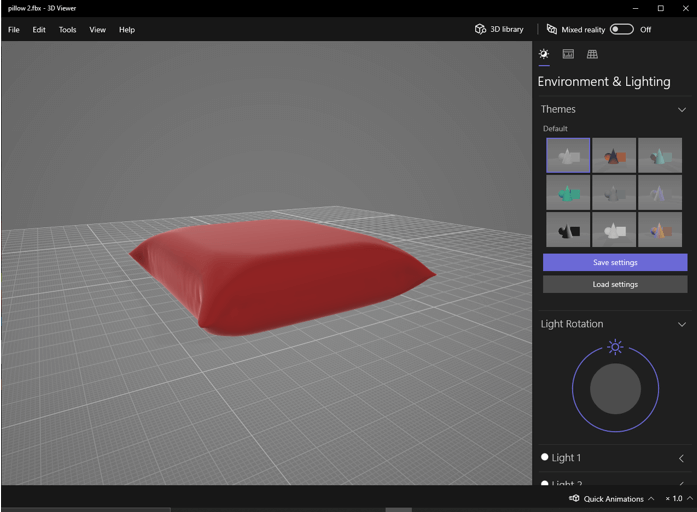
Step 1: First we will start with an FBX file of a pillow and we will demonstrate Zbrush cloth brushes on this FBX.
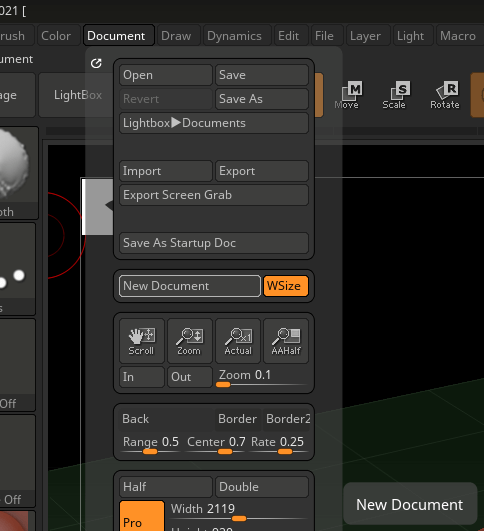
Step 2: Go to Document in the menu bar and then select New document with WSize on which will make the canvas size same as the viewport size.
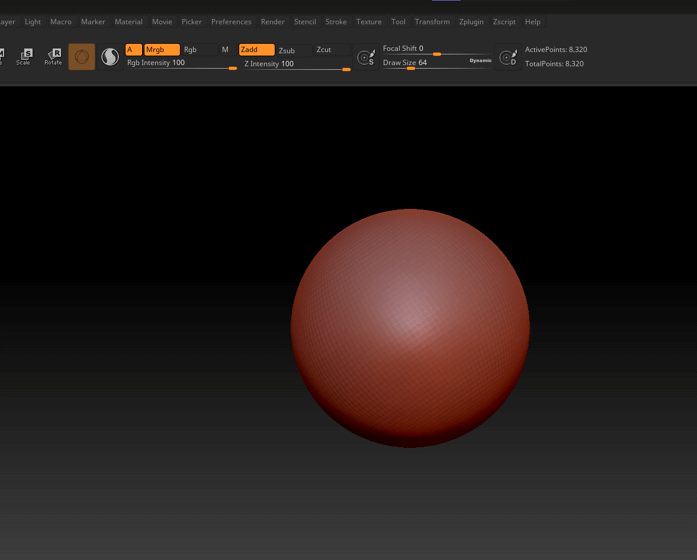
Step 3: Start with a Circle 3D tool from the tool palette.
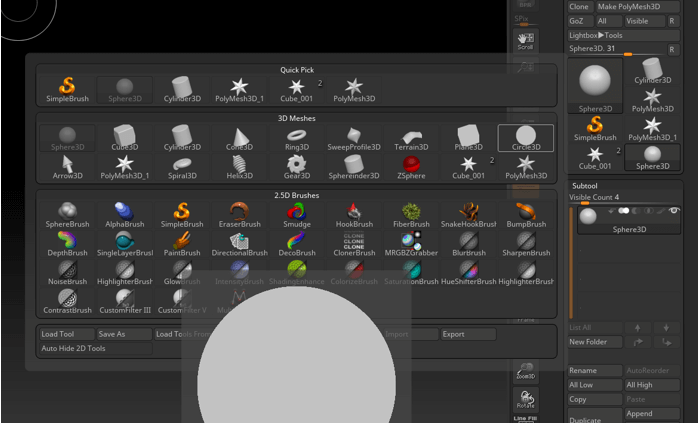
Step 4: Then drag the sphere tool inside the viewport.
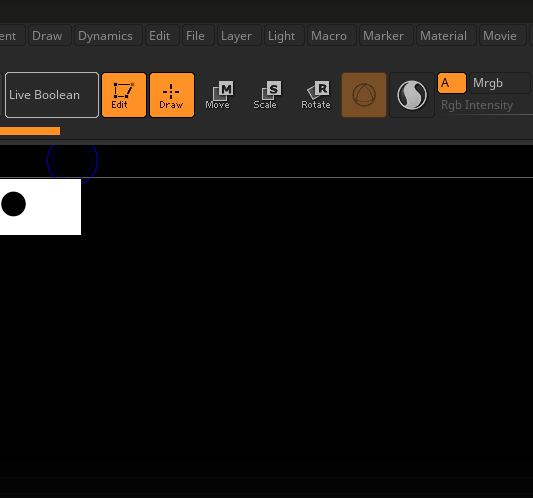
Step 5: After creating the sphere go to edit mode. This mode will allow you to sculpt the 3D object. Also, when you place a primitive 3D object in the edit mode it will automatically will be cloned in tool palette.
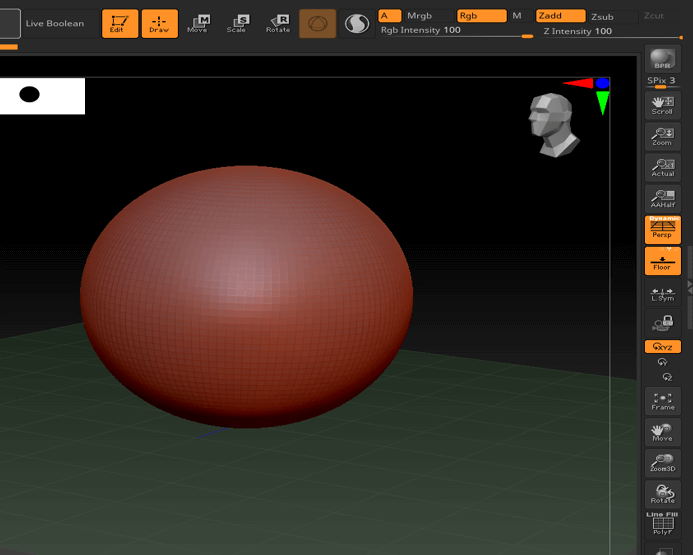
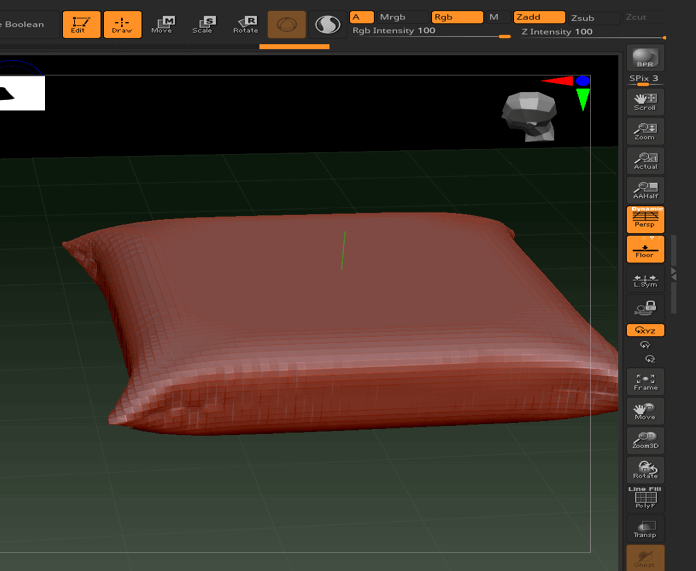
Step 6: Enable perspective button to which will apply perspective foreshortening to a 3D object. Also, press Floor to activate perspective floor grid which can be activated per axis, and by default Y-axis is enabled.
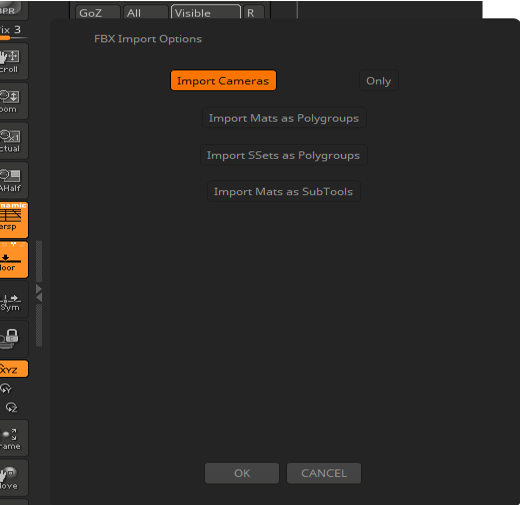
Step 7: Next we will import the pillow FBX file from tool palette.
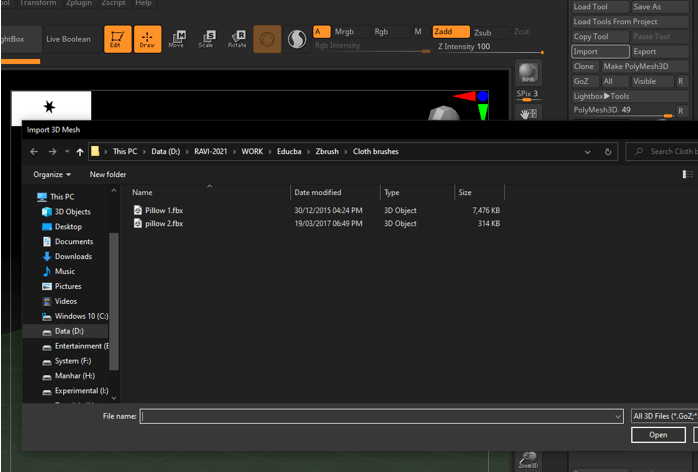
Step 8: Keep the FBX import options to default and if there is a duplicate camera names warning then Replace.
Step 9: So, the pillow is successfully imported and is aligned on Y-axis.
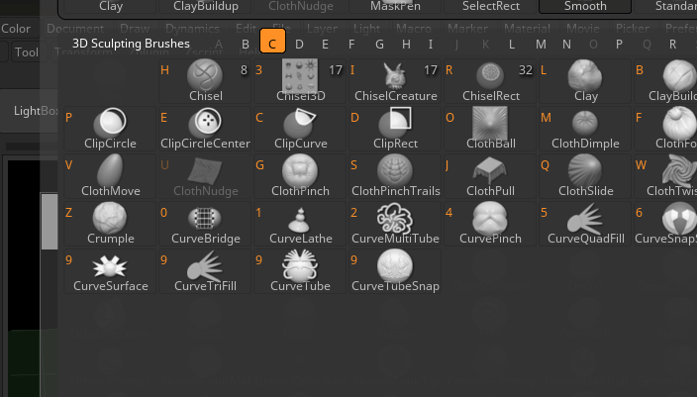
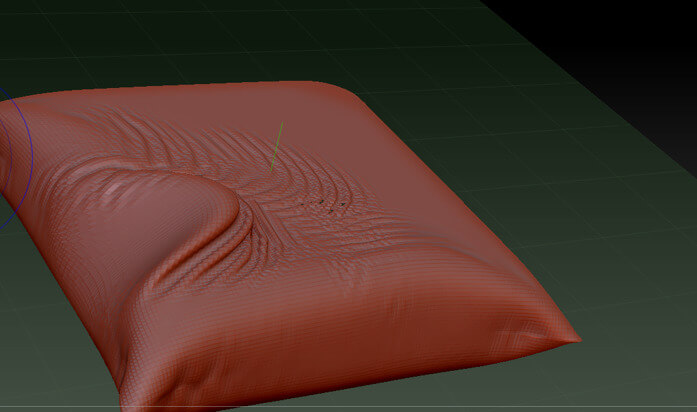
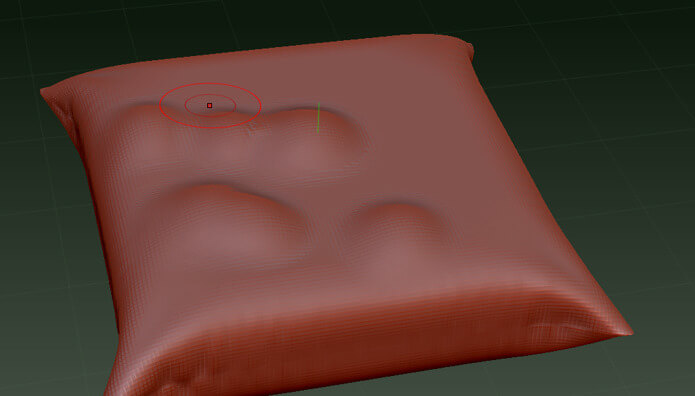
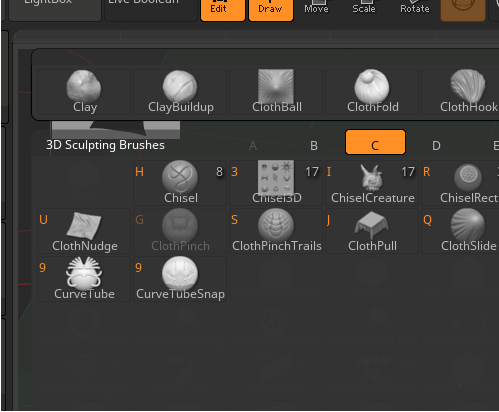
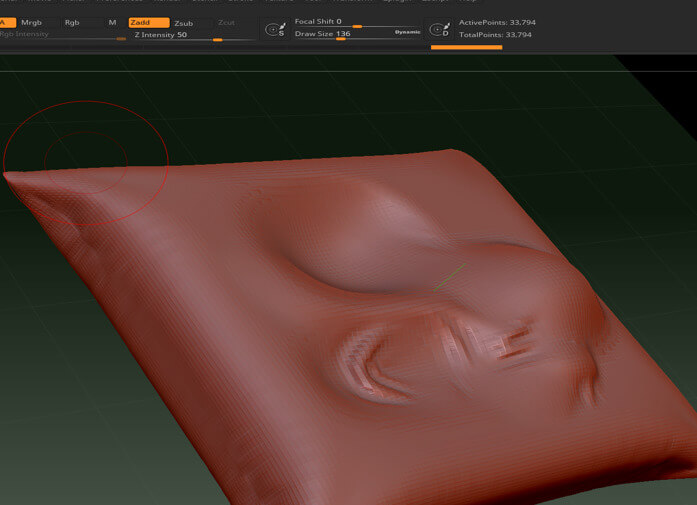
Step 10: Let's start with the first brush which is Cloth Nudge. The hotkey to select it is B – C – U.
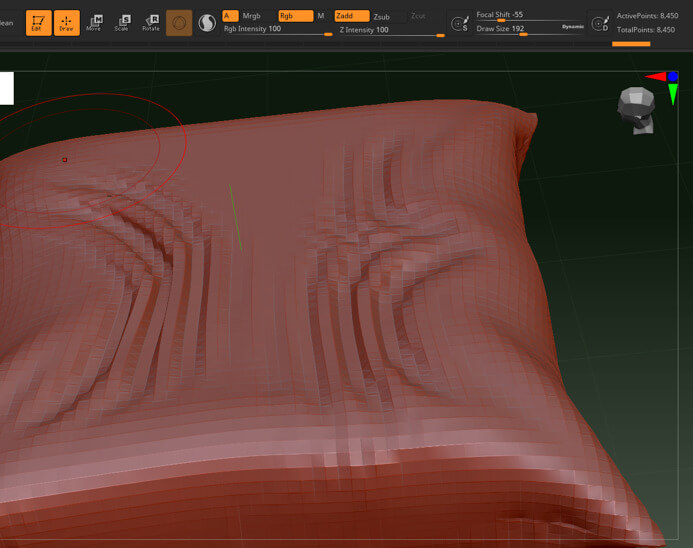
Step 11: So, Cloth nudge brush slightly moves the surface which cause ripples. You can adjust Z intensity to adjust how the depth information is applied to the current tool or object and draw size determines the size of brush strokes or editing actions. If you want more fine-tuning then you can use the focal shift but its uses are rare and it is mostly to control the falloff how steep or shallow you want.
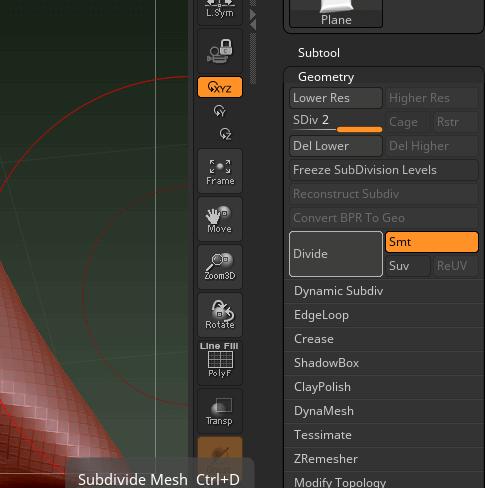
Step 12: If you feel that the resolution of the mesh is low then you can subdivide mesh which will doubles the horizontal and vertical resolution.
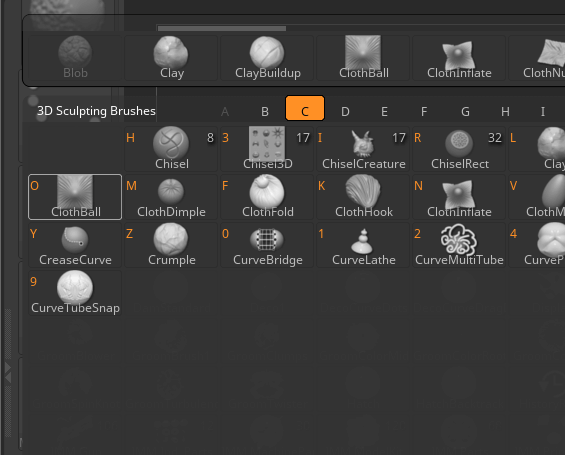
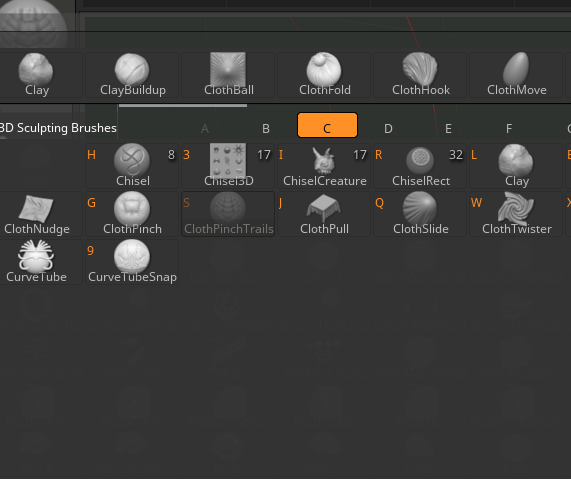
Step 13: Next brush which is Cloth Pull. The hotkey to select it is B – C – J.
Step 14: Cloth pulls brush drag the cloth surface. If controls how the cloth drapes.
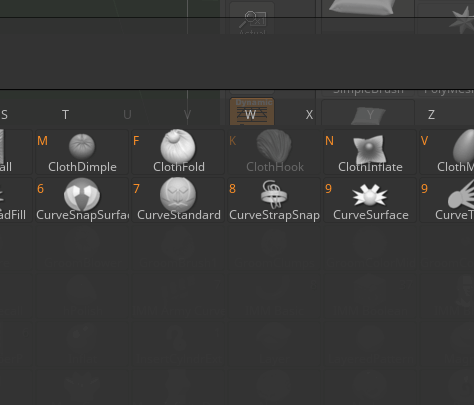
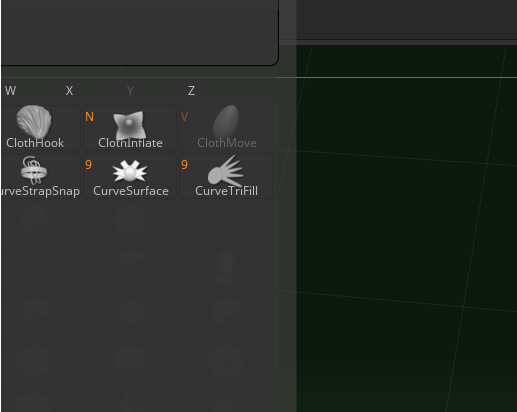
Step 15: Next brush which is Cloth Inflate. The hotkey to select it is B – C – N.
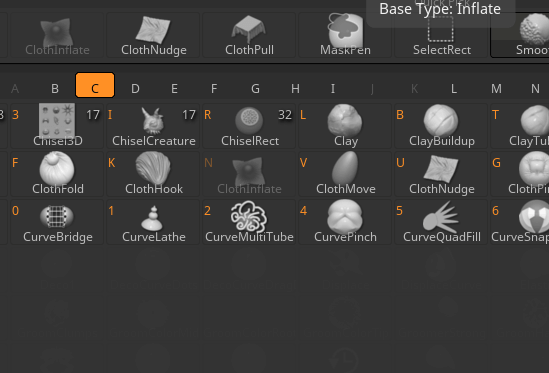
Step 16: Cloth Inflate brush shapes the surface as if it is covering a sphere. Again, remember to adjust the Z intensity and draw size to get the desired result.
Step 17: Next brush which is Cloth ball. The hotkey to select it is B – C – O.
Step 18: Cloth Ball brush is similar to cloth inflate, but it is bases off the standard brush and so the surface normal will not be inflated.
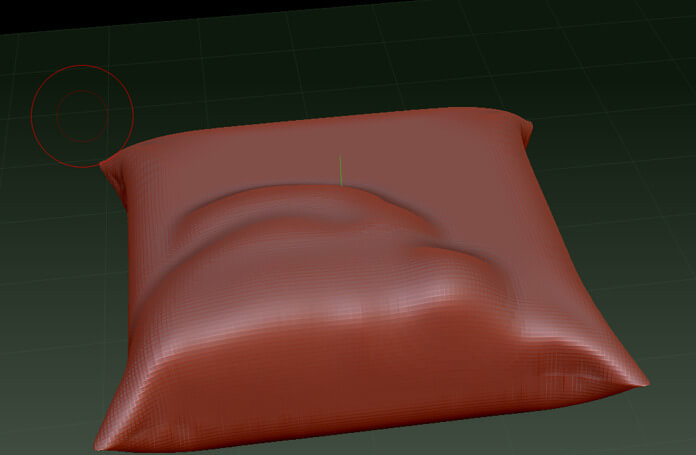
Step 19: Next brush which is Cloth Fold. The hotkey to select it is B – C – F.
Step 20: Cloth Fold brush slightly twist the surface to create wrinkles and folds.
Step 21: Next brush which is Cloth Hook. The hotkey to select it is B – C – K.
Step 22: Cloth Hook brush simulate the effect of grabbing, holding, and dragging.
Step 23: Next brush which is Cloth Move. The hotkey to select it is B – C – V
Step 24: Cloth Move give you more control over the cloth dynamics and also there will be less stretching then the cloth pull brush so you can do subtle adjustment in the cloth folds and wrinkles.

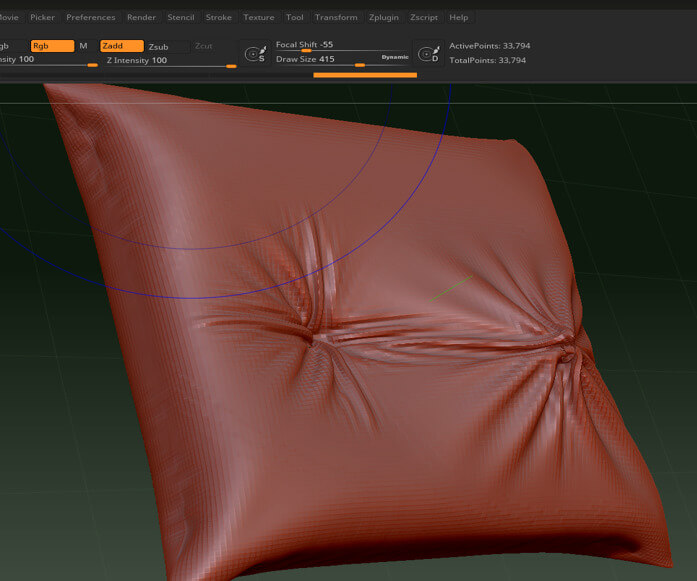
Step 25: Next brush which is Cloth Pinch. The hotkey to select it is B – C – G.
Step 26: Cloth pinch will pull the surface on itself which will create a crease. If you hold Alt then the direction of the crease will be reversed relative to the surface.
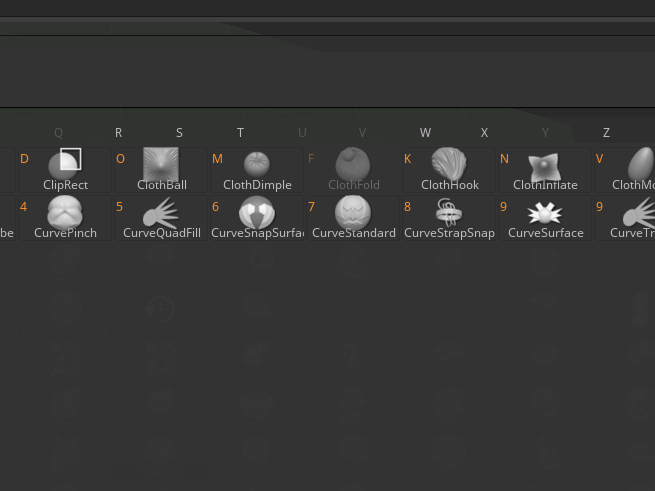
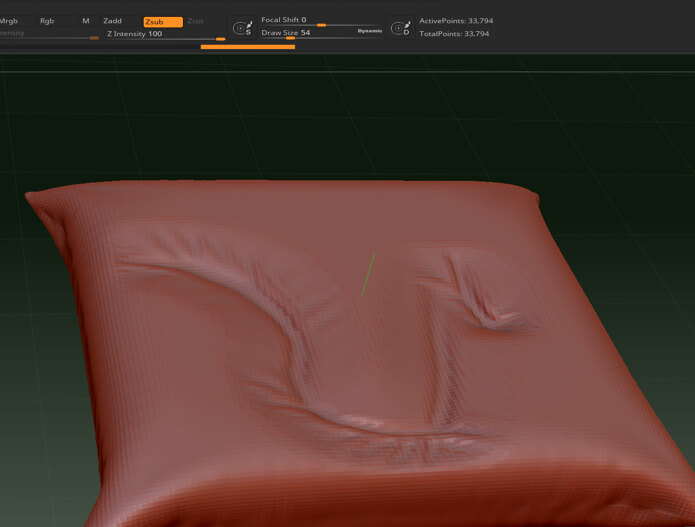
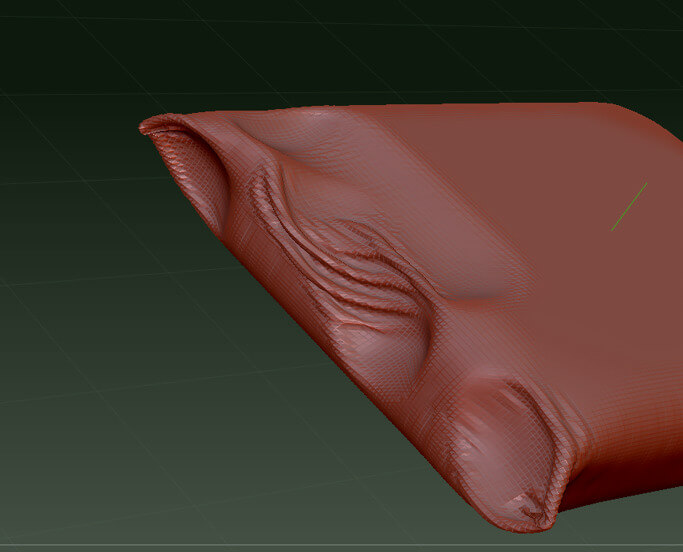
Step 27: Next brush which is Cloth Pinch Trail. The hotkey to select it is B – C – S
Step 28: Cloth Pinch Trail as the name suggest leaves a trail of pinch, it can be used on pillow, wound, scars as the pinching will be repeated on the path of the stroke.
Step 29: Next brush which is Cloth Slide. The hotkey to select it is B – C – Q.
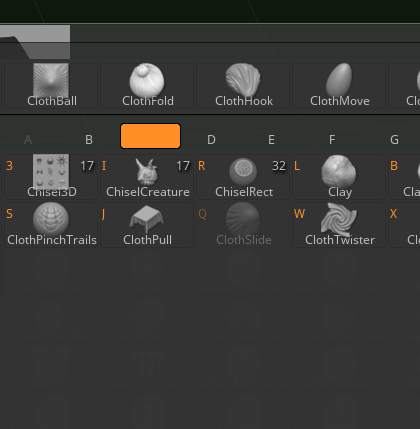
Step 30: Cloth Slide will lift the surface and create folds as it moves along and bunches the fabric. If you hold Alt then the surface will be indented.
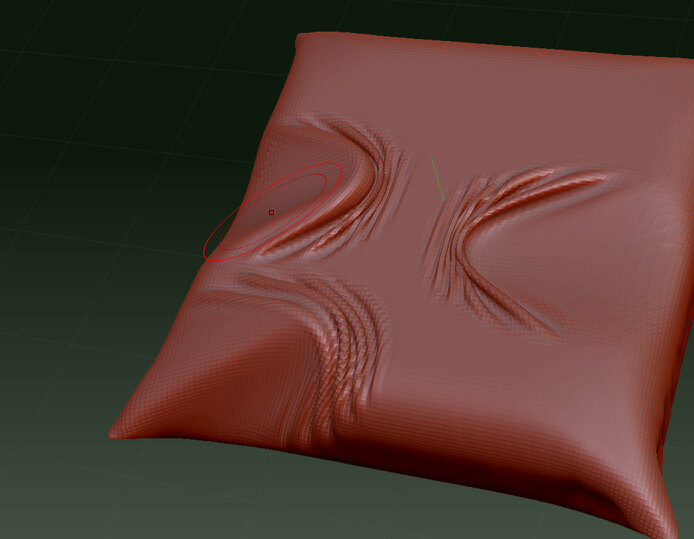
Step 31: Next brush which is Cloth Twister. The hotkey to select it is B – C – W.
Step 32: Cloth Twister brush twist the surface in circular motion.

Step 33: If you set the twist rate to negative from Brush > Twist -> Twist Rate then the wrinkles will be twisted in opposite direction.
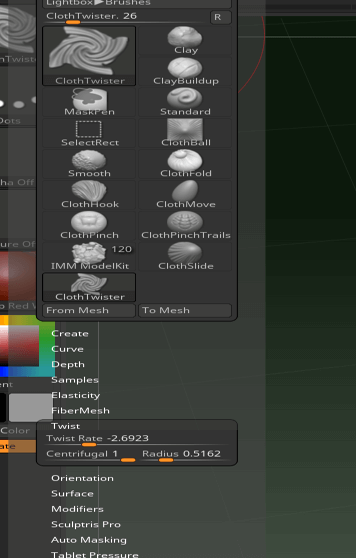
Step 34: We can see the opposite twists.

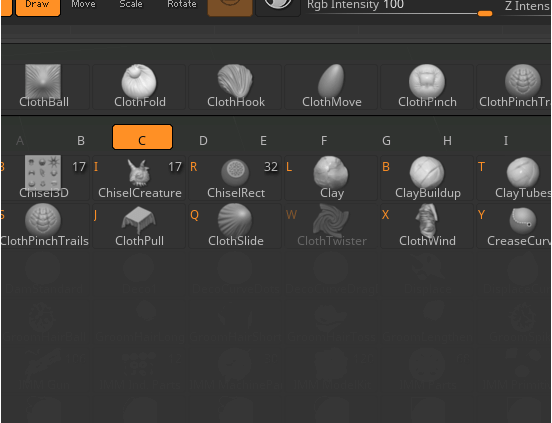
Step 35: Next brush is Cloth Wind. The hotkey to select it is B – C – X.
Step 36: Cloth wind brush is mostly used on loose fabric to give natural effects like the cloth being blown on.
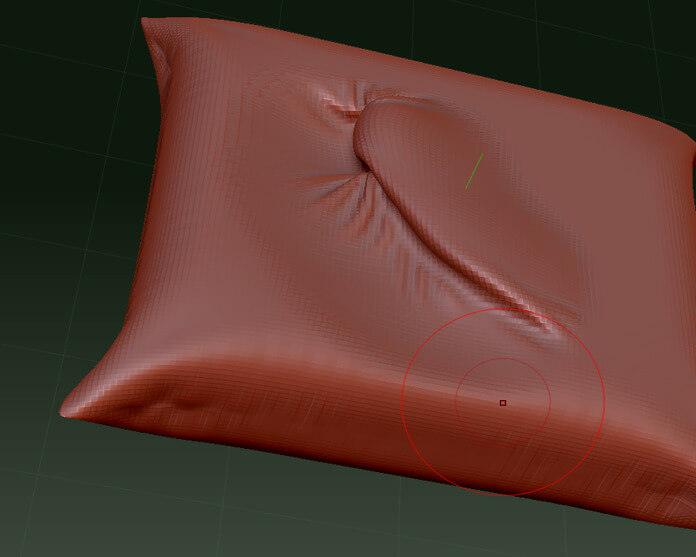
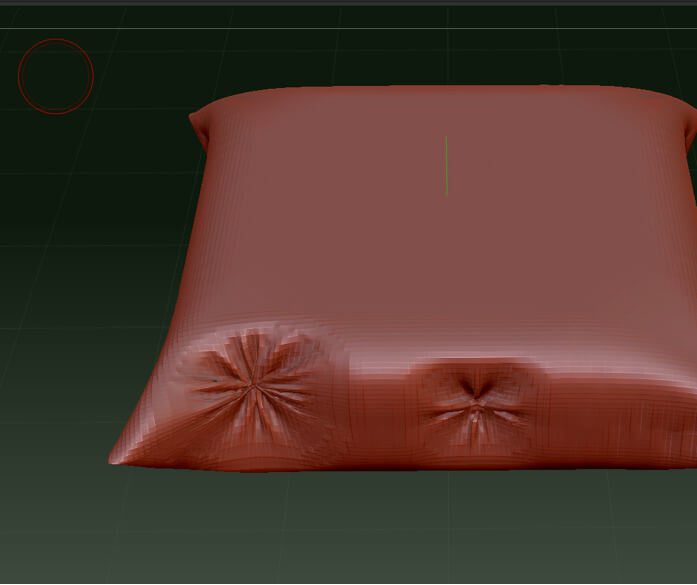
Step 37: Next brush is Cloth Dimple. The hotkey to select it is B – C – M.

Step 38: Cloth Dimple gives an illusion of a button on a pillow.
Conclusion
In this article, we have learned how to use cloth brushes in Zbrush. Firstly, we have started with importing an FBX then we starting working on various cloth brushes and demonstrating its general uses and specific use cases if any. We have also seen the hotkeys for each brush so we can have faster access to that brush.
Recommended Articles
This is a guide to ZBrush cloth brushes. Here we discuss the Introduction, step to create ZBrush cloth brushes. You may also have a look at the following articles to learn more –
- ZBrush Alternatives
- ZBrush Plugins
- What is ZBrush?
- ZBrush Tools
Zbrush Brush Size Too Small
Source: https://www.educba.com/zbrush-cloth-brushes/
Posted by: baileyteplongues1974.blogspot.com
0 Response to "Zbrush Brush Size Too Small"
Post a Comment